The Manual
Painting 101: All the pro tips and tricks you need to paint your space.
1. Plan
STEP 1
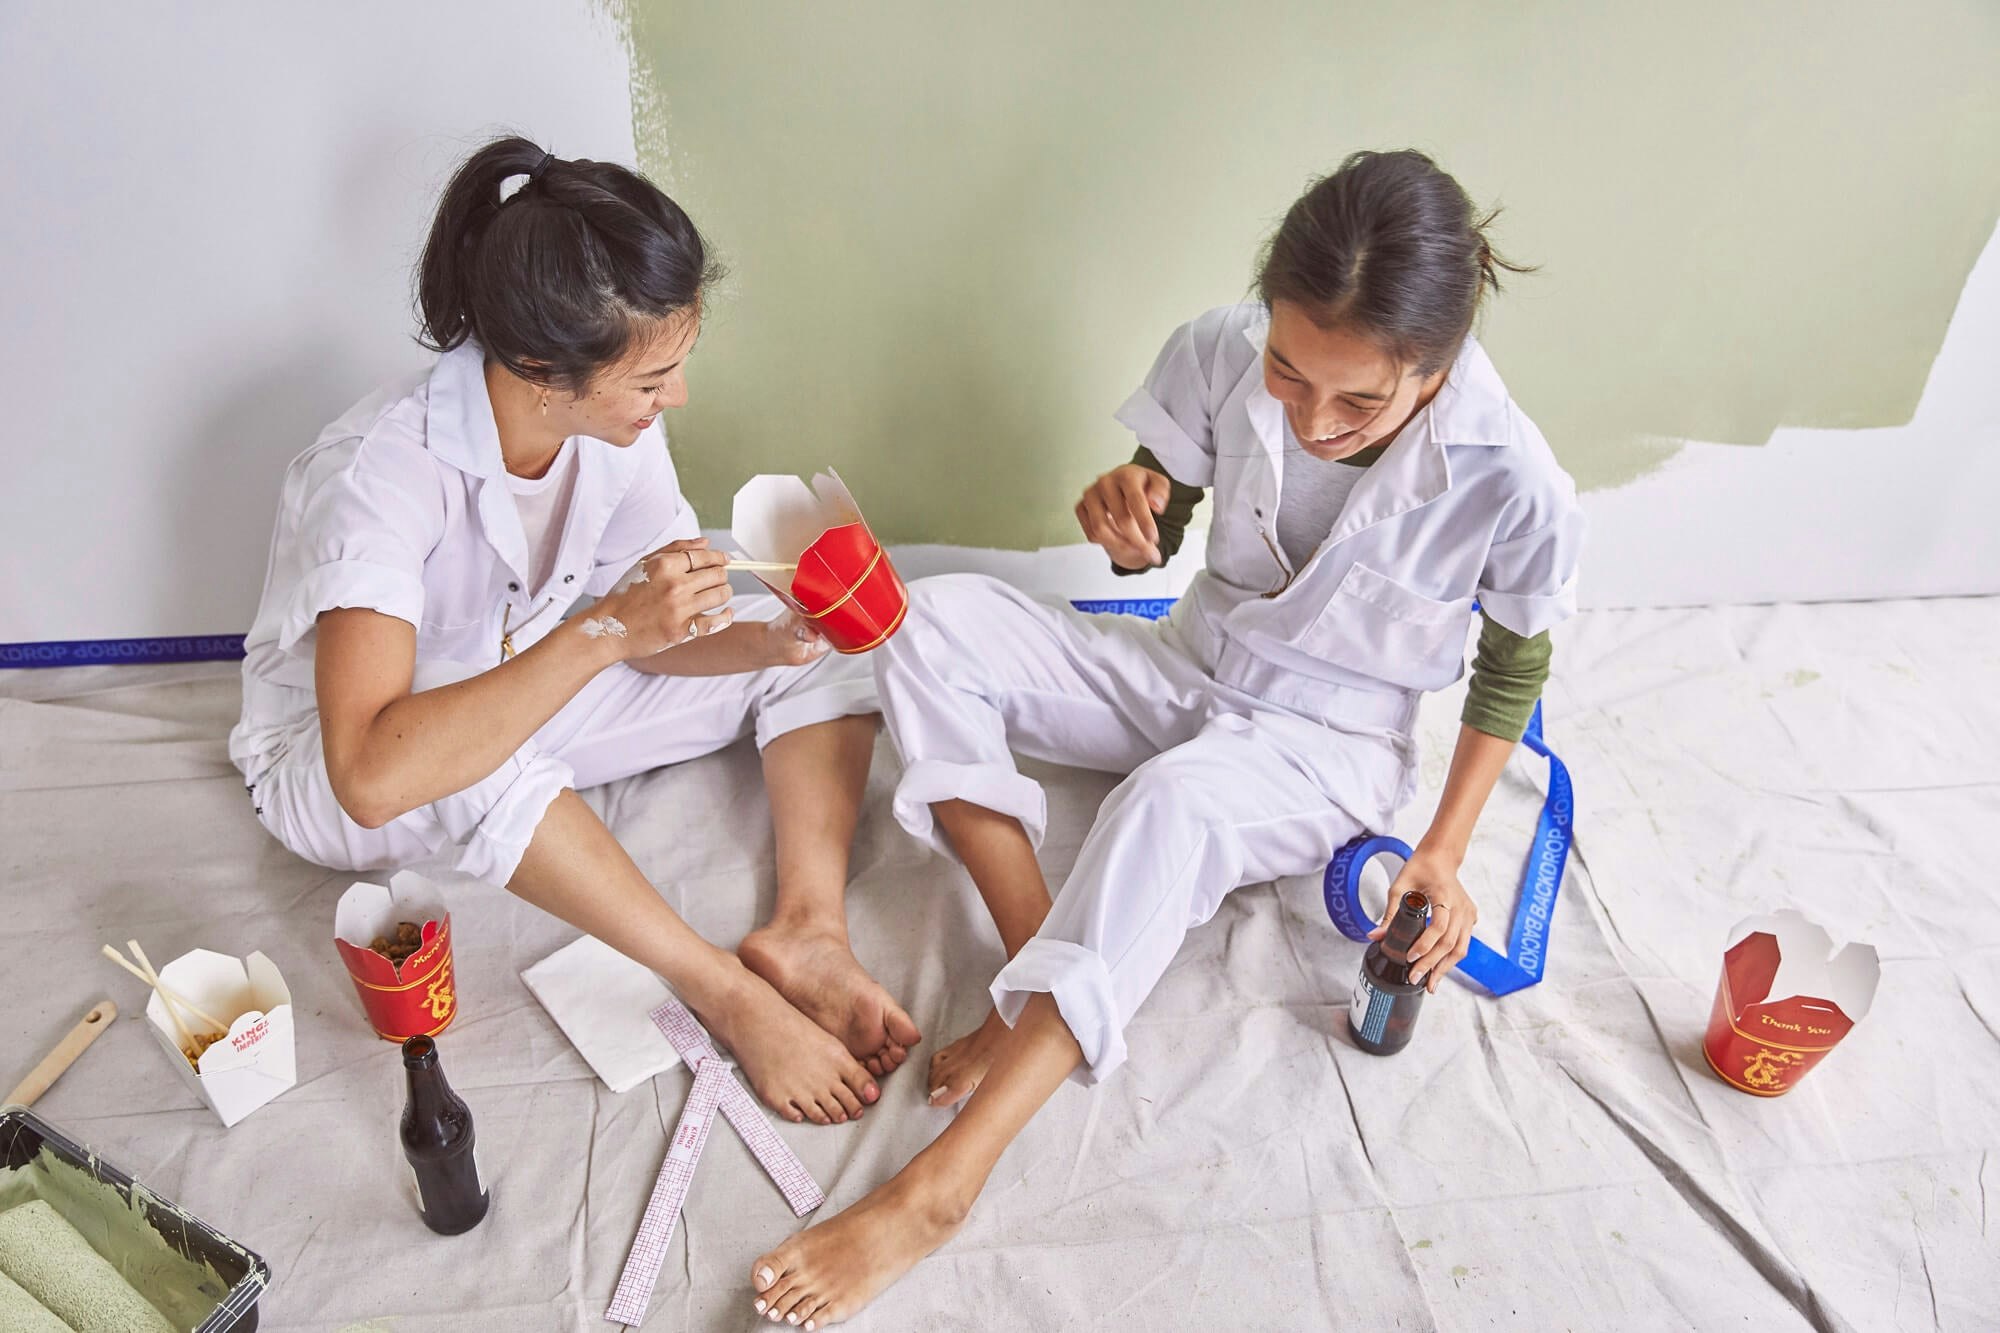
Grab a friend. (We recommend one Essentials Kit per person, so make sure you have enough for each painter.)
STEP 2
Create a playlist.
STEP 3
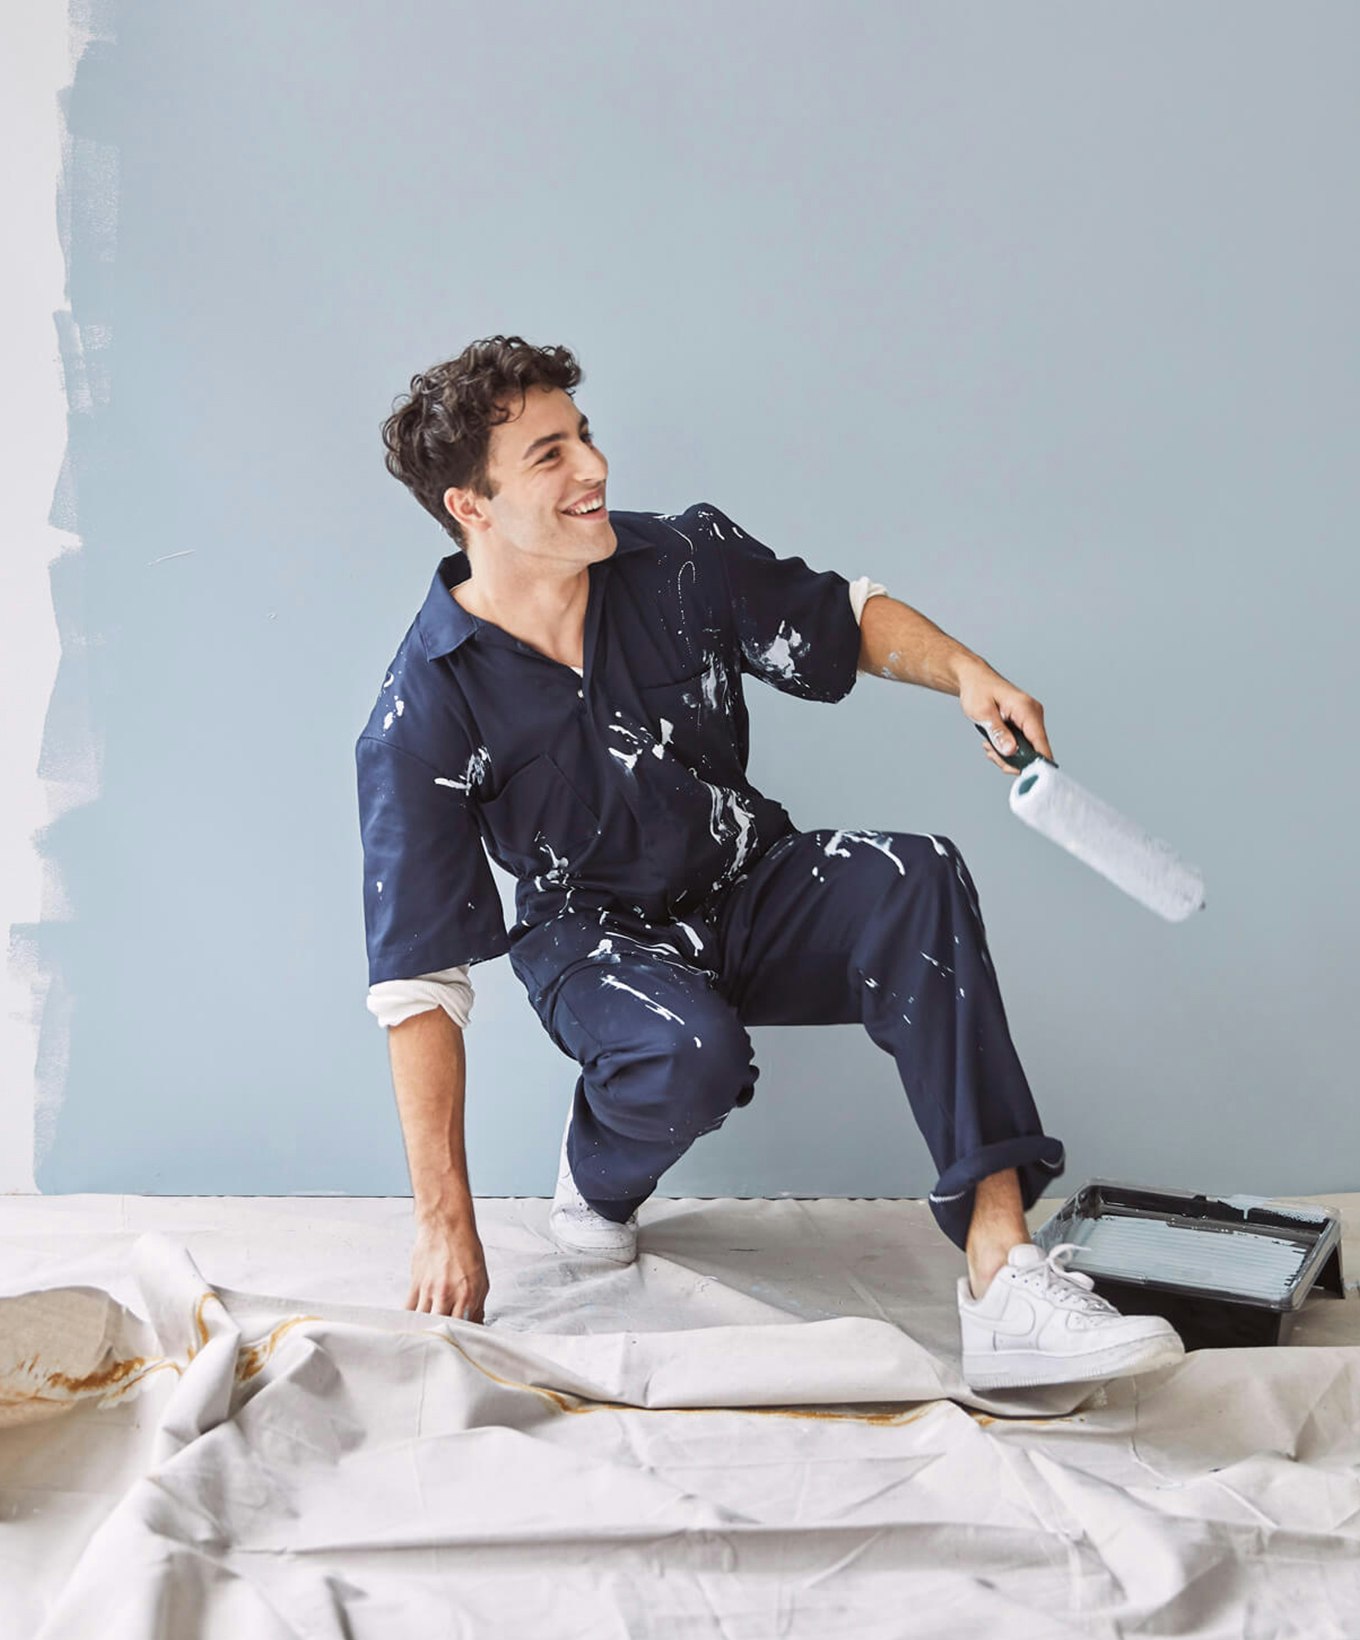
Put on your Backdrop Coveralls to protect your clothing.
STEP 4
Get ready to PAINT PAINT PAINT your new Backdrop.

2. Prep
Prepare
Move furniture to the center of the room and drape.
Remove anything hanging on the walls, placing out of the way for safekeeping.
Clean
Vacuum or dust the baseboards and moldings and don’t forget to clean any dusty ceiling corners.
Wipe the walls down with a water-damp rag. A quick once-over will do. (This is optional, but we seriously recommend it.)
Spackle
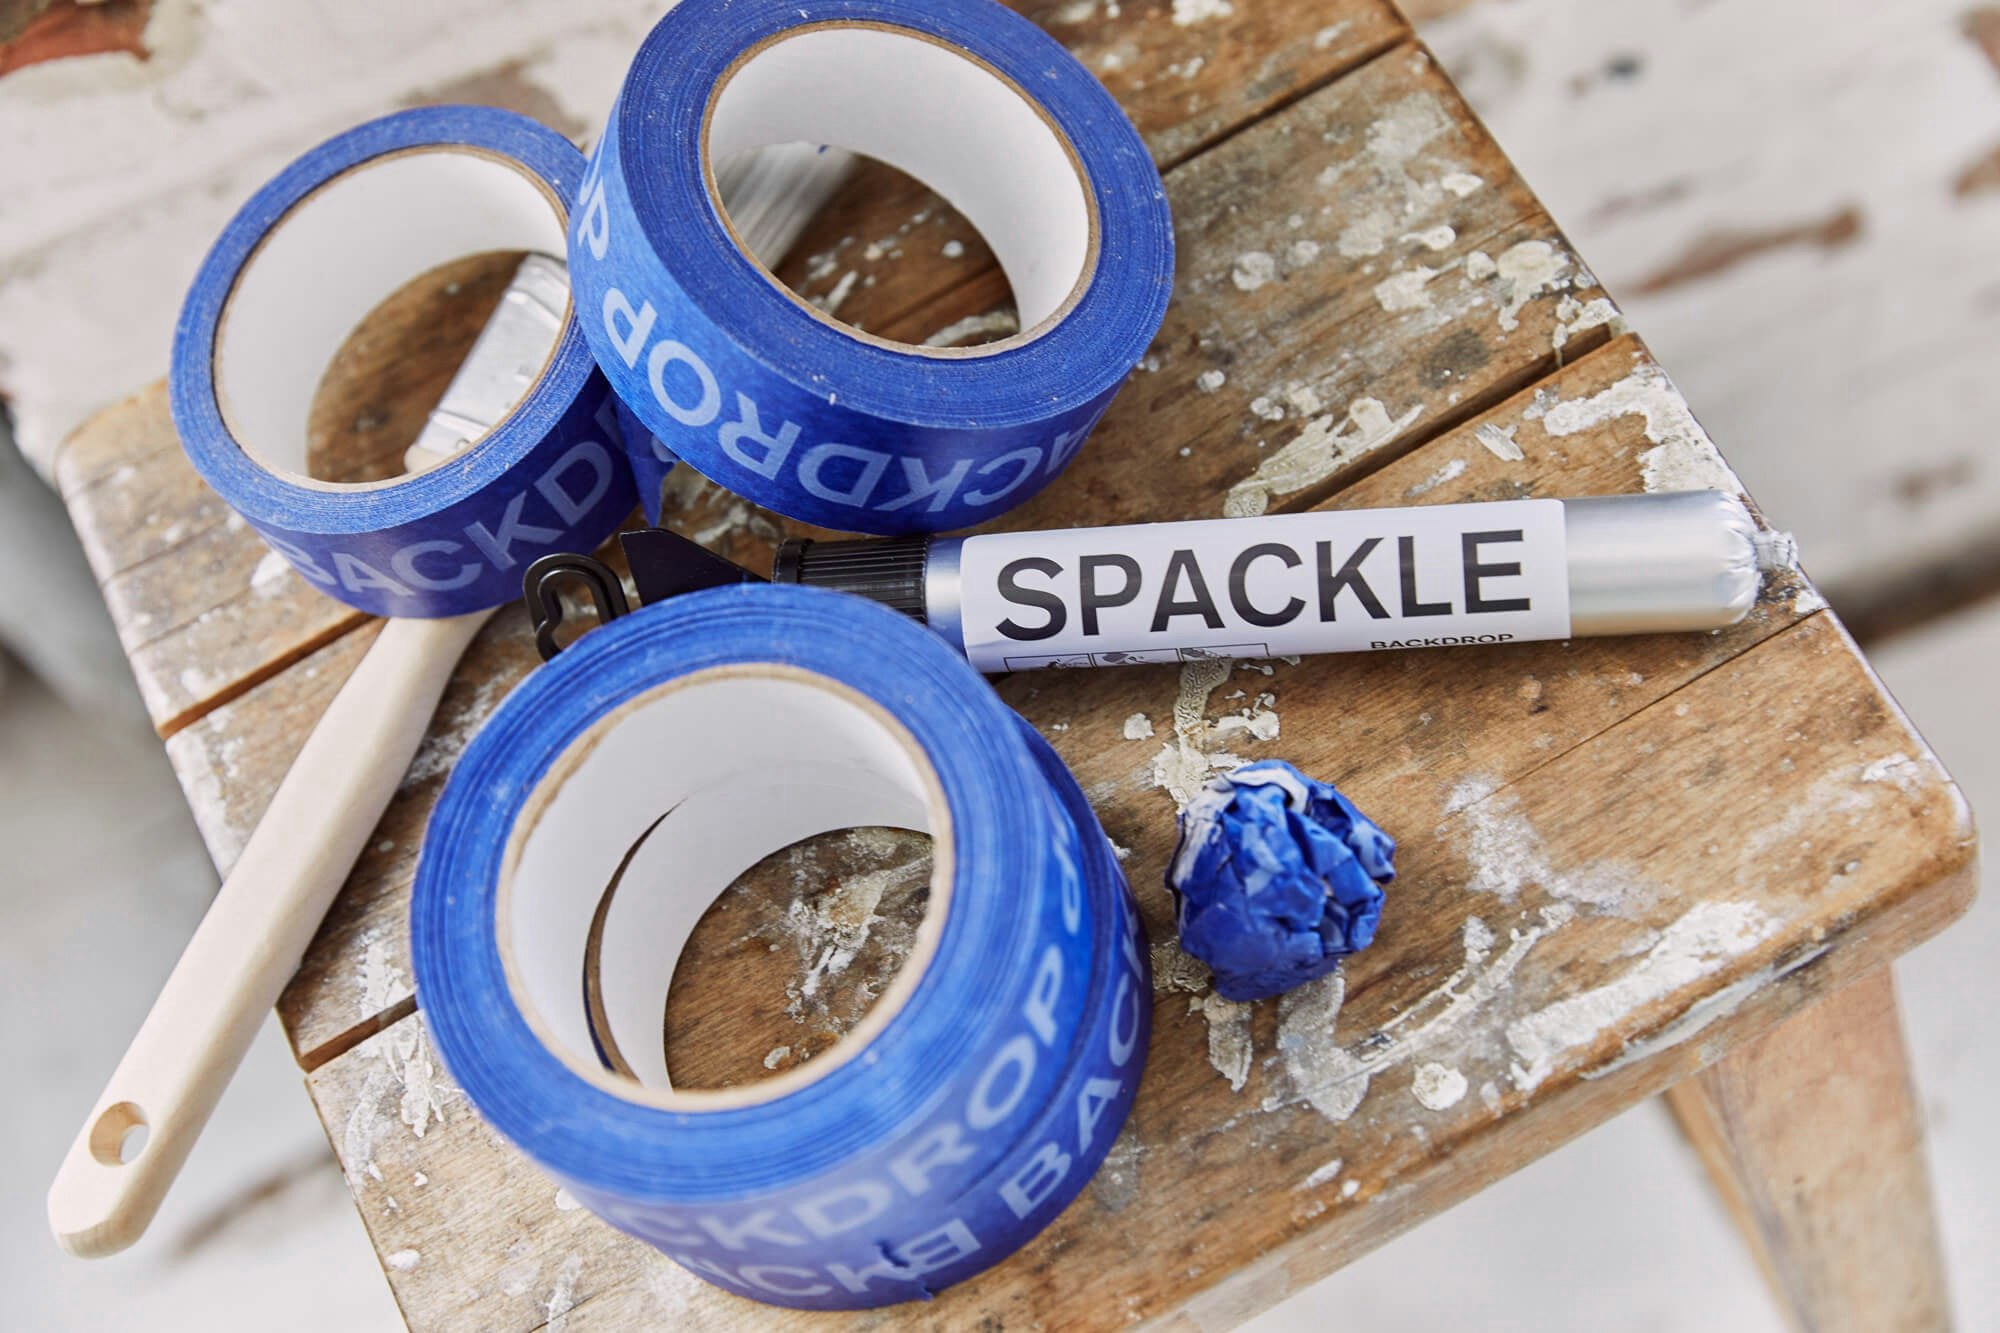
Apply spackling to nail holes and let dry.
#Protip: Sand over dried spackle and any blemishes on the wall to smooth the surface, wiping again to remove any sanding dust.
Tape
Start in a corner and take your time. Tear off a tape strip about two feet long. Set it down lightly. Overlap your tape generously about an inch to make sure paint doesn’t seep through.
Seal the tape tightly with your finger or a putty knife to ensure it’s sealed to the wall.
#Protip: don’t tape the ceiling.
Protect
Put down Backdrop drop cloth. Now you’re ready to rock.
3. Paint
We’ve laid out the basic steps to painting your Backdrop. Make sure to always work from the top down. Paint the ceiling first, then the walls, and finish with the trim.
Paint the ceiling first
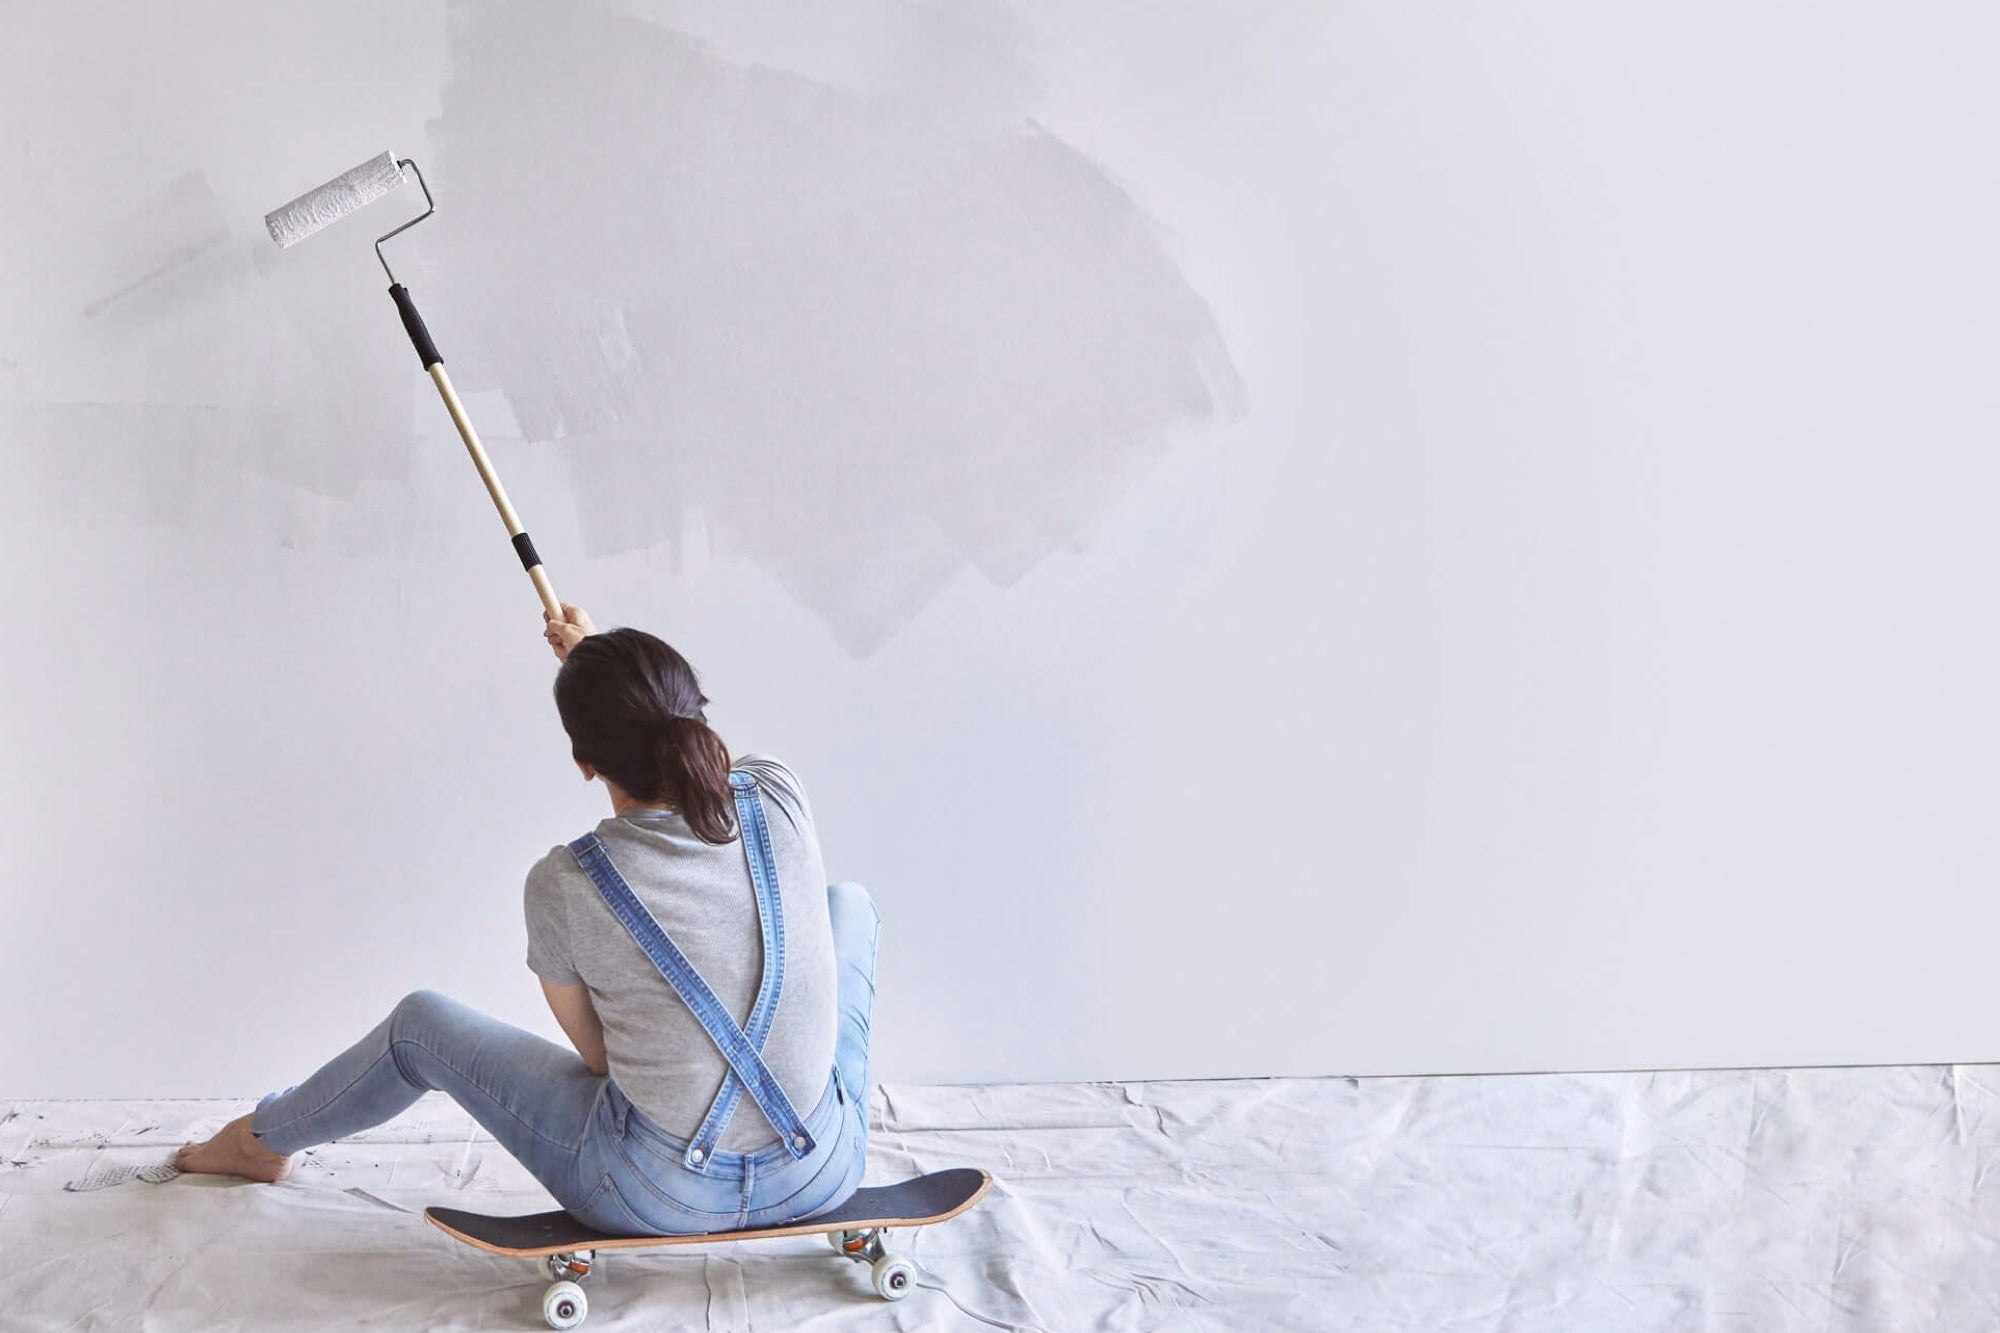
Allow 24 hours of dry time before you paint your walls. You don’t need to use a ladder; save your neck and use a roller extension pole. After cutting in around the edges (more on that below) move side-to-side with your roller across the ceiling.
Why paint the trim last?
When rolling the paint on the large, open wall surfaces, sometimes little specks of paint will splatter onto the trim. If you paint the walls first, these little blemishes will be covered over when you paint the trim.
Cut in
Use your 2-inch paint brush. Think of this step as outlining your backdrop before you fill it in. Start cutting in on the corners and move in short sweeping strokes.
Dip, tap, don't wipe
You’ll get more paint by dipping the bristles about an inch into the paint and then just patting the brush against opposite sides of the pail.
#PROTIP: Cut in one wall at a time
You’ll get better results if you cut in just one wall, then immediately roll out the wall before cutting in the next one. If you roll out the wall right away, while the cut-in paint is still wet, the cut-in paint and the wall paint will blend much better, reducing the chance of lap marks.
Work from a paint pail
Pour about 1 inch of paint into the pail. Hold the brush at the base like a pen.
#PROTIP: Paint a thicker border near the ceiling with your brush to ensure your roller won't hit the ceiling.
When cutting in against a ceiling without tape, start by sweeping strokes--don’t worry about getting close on the first pass. Without reloading your brush, make a second pass to get the paint closer to the line. Fan the bristles so you’re using the tip of the taper to spread the paint in a straight line.
Roll
(The good ASMR stuff. Get your phone ready.)
Start with a tray liner
Don’t completely saturate the roller, instead slowly dip and roll out the paint evenly in the tray.
Start from the top and work down in columns
Make a W and fill in with vertical rolls (up and down). Aim for 4x4 sections at a time. (Don’t over do it. A good roll doesn’t take that much pressure.)
For the best finish, we strongly suggest two coats of paint. Just make sure to wait at least 3 hours between coats.
#PROTIP: Need a break? Backdrop tray liners double as a tray cover
You can leave your roller and paint up to 24-hours as long as it’s covered.
4. Finish
Remove the tape
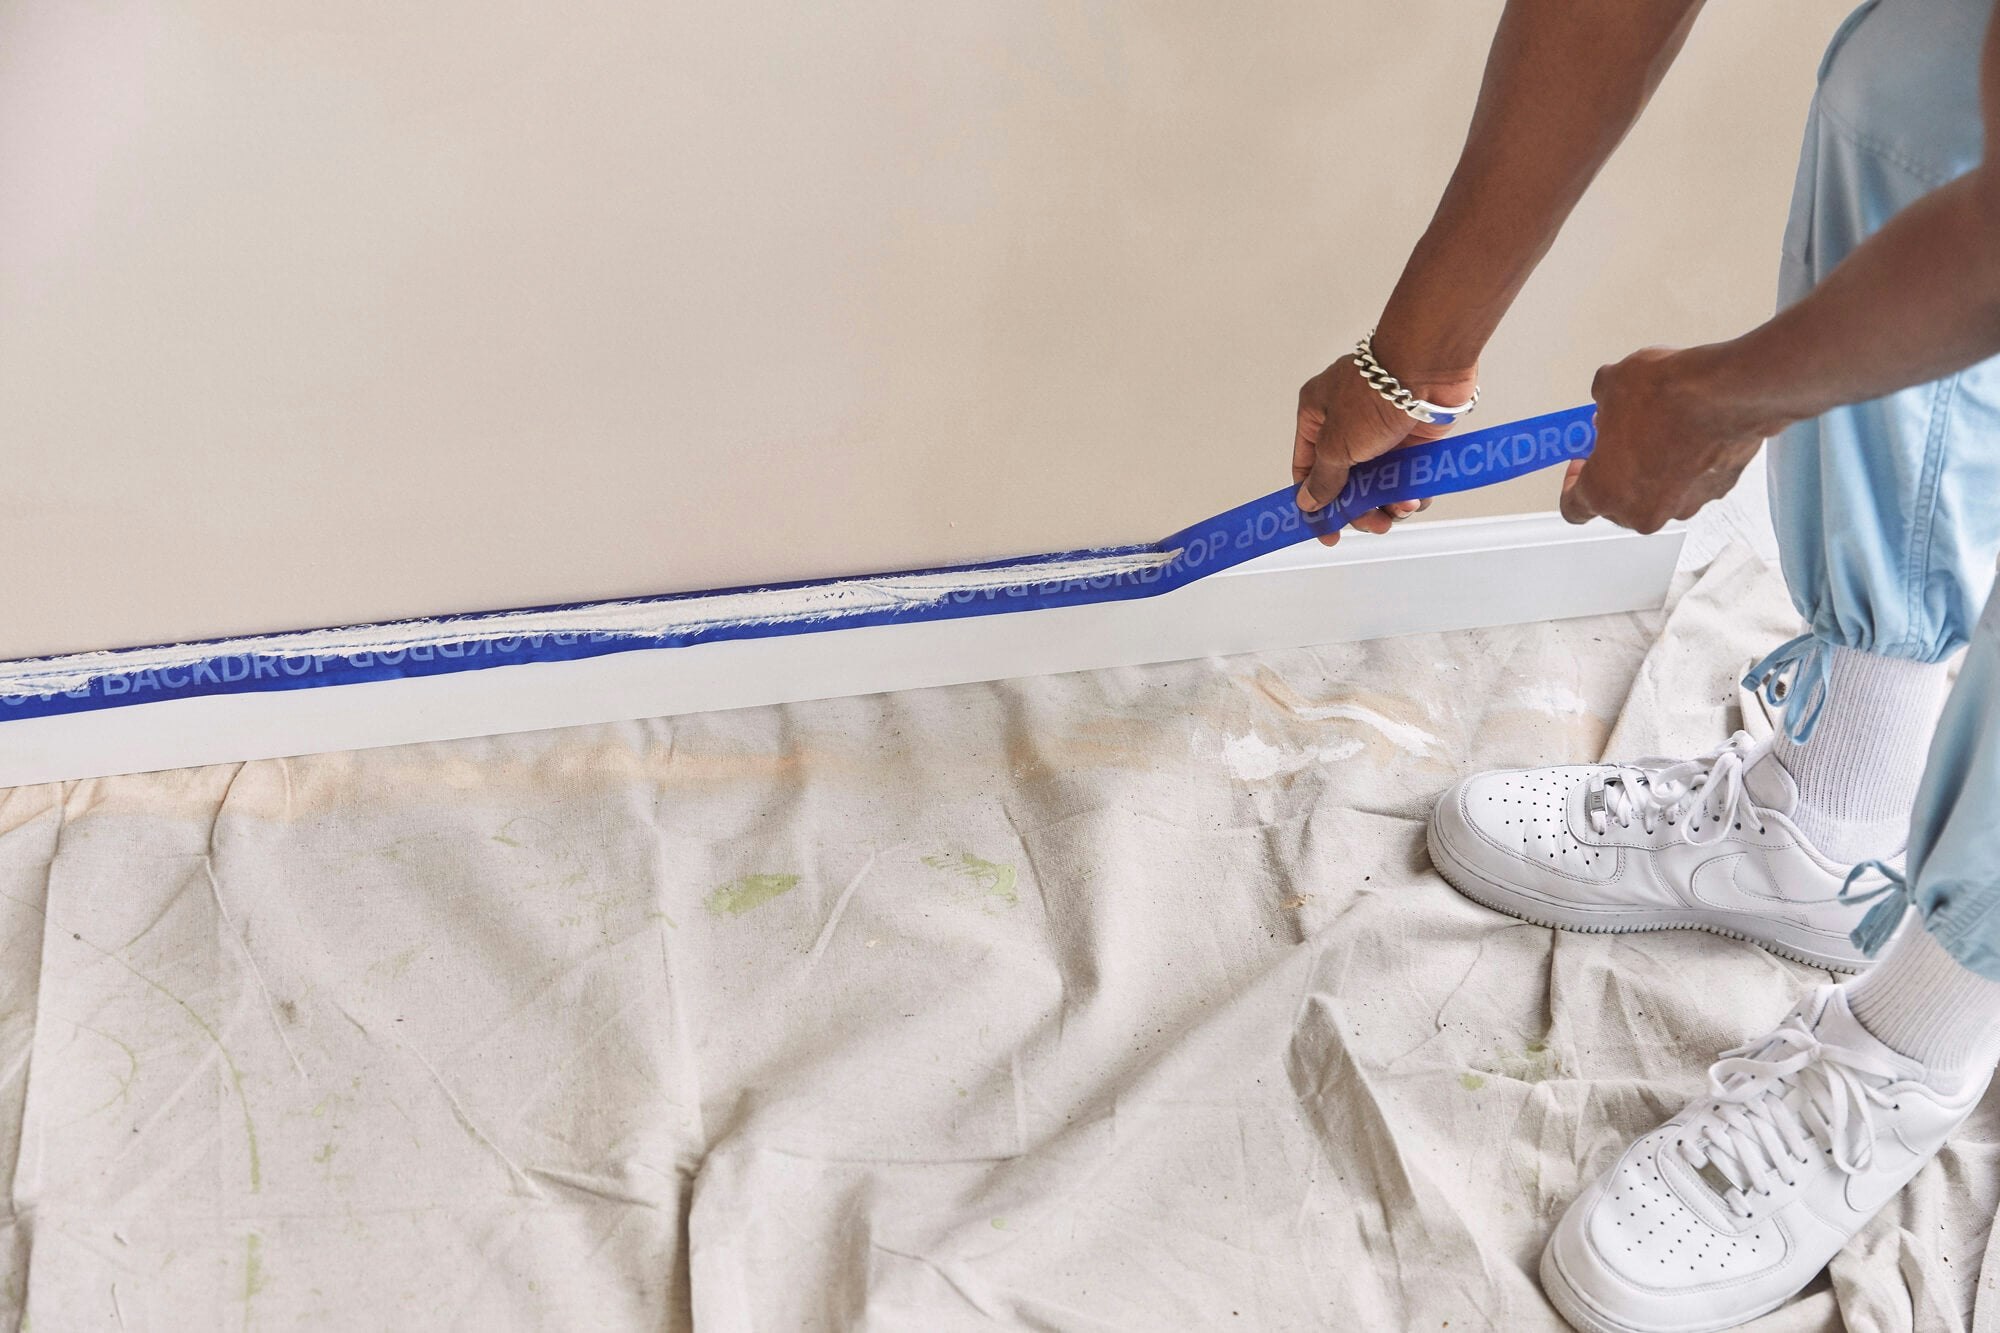
While the paint is still wet, slowly and carefully pull away from the paint line at a 45-degree angle. If a bit of paint seeps through, wipe it away immediately with a damp cloth. If the tape is left on until the paint dries, removing it can result in peeling.
Show us your new Backdrop. #MyBackdrop @backdrop
5. Other tips + Things to avoid
When do I use a primer?
Primer is not necessary for all paint jobs. It’s only needed in these cases:
Bare drywall
Stained or repaired areas
Bare wood
High-gloss finishes
Drastic color change
Rookie Mistakes
Overbrushing
For the smoothest possible finish when you’re painting woodwork, doors, or cabinets, avoid too much brushwork. Load the brush and quickly cover an area with paint. Then use a stroke or two to level it off. Brushing over the same area, especially after the paint has started to dry, will cause unsightly brush marks and ridges.
Letting the roller hit the floor
If you’re painting new walls before the baseboard is installed, leave an unpainted strip along the bottom where it will be covered by the baseboard. If you try to paint too close to the floor, your roller cover could touch it and pick up dirt, lint, and hair [this could result in hair painted to your wall and you’ll never get over it].
Painting in low light
Avoid painting interior surfaces in dim light. The painted surface may look fine at first, but when you uncover the windows to let in natural light or turn on bright lights, you’ll likely see thin patches and other imperfections. Always make sure to have lots of bright light when painting.
Not using Backdrop supplies
Our supplies are the highest quality and are made specially for use with Backdrop paint.
